
I love crazy word art, and I found this style to be a great way to combine language and photography into one image.
This idea was a total steal from the artist Ben Heine. You can find his version here. I can't say I agree with the theme but I love the style.
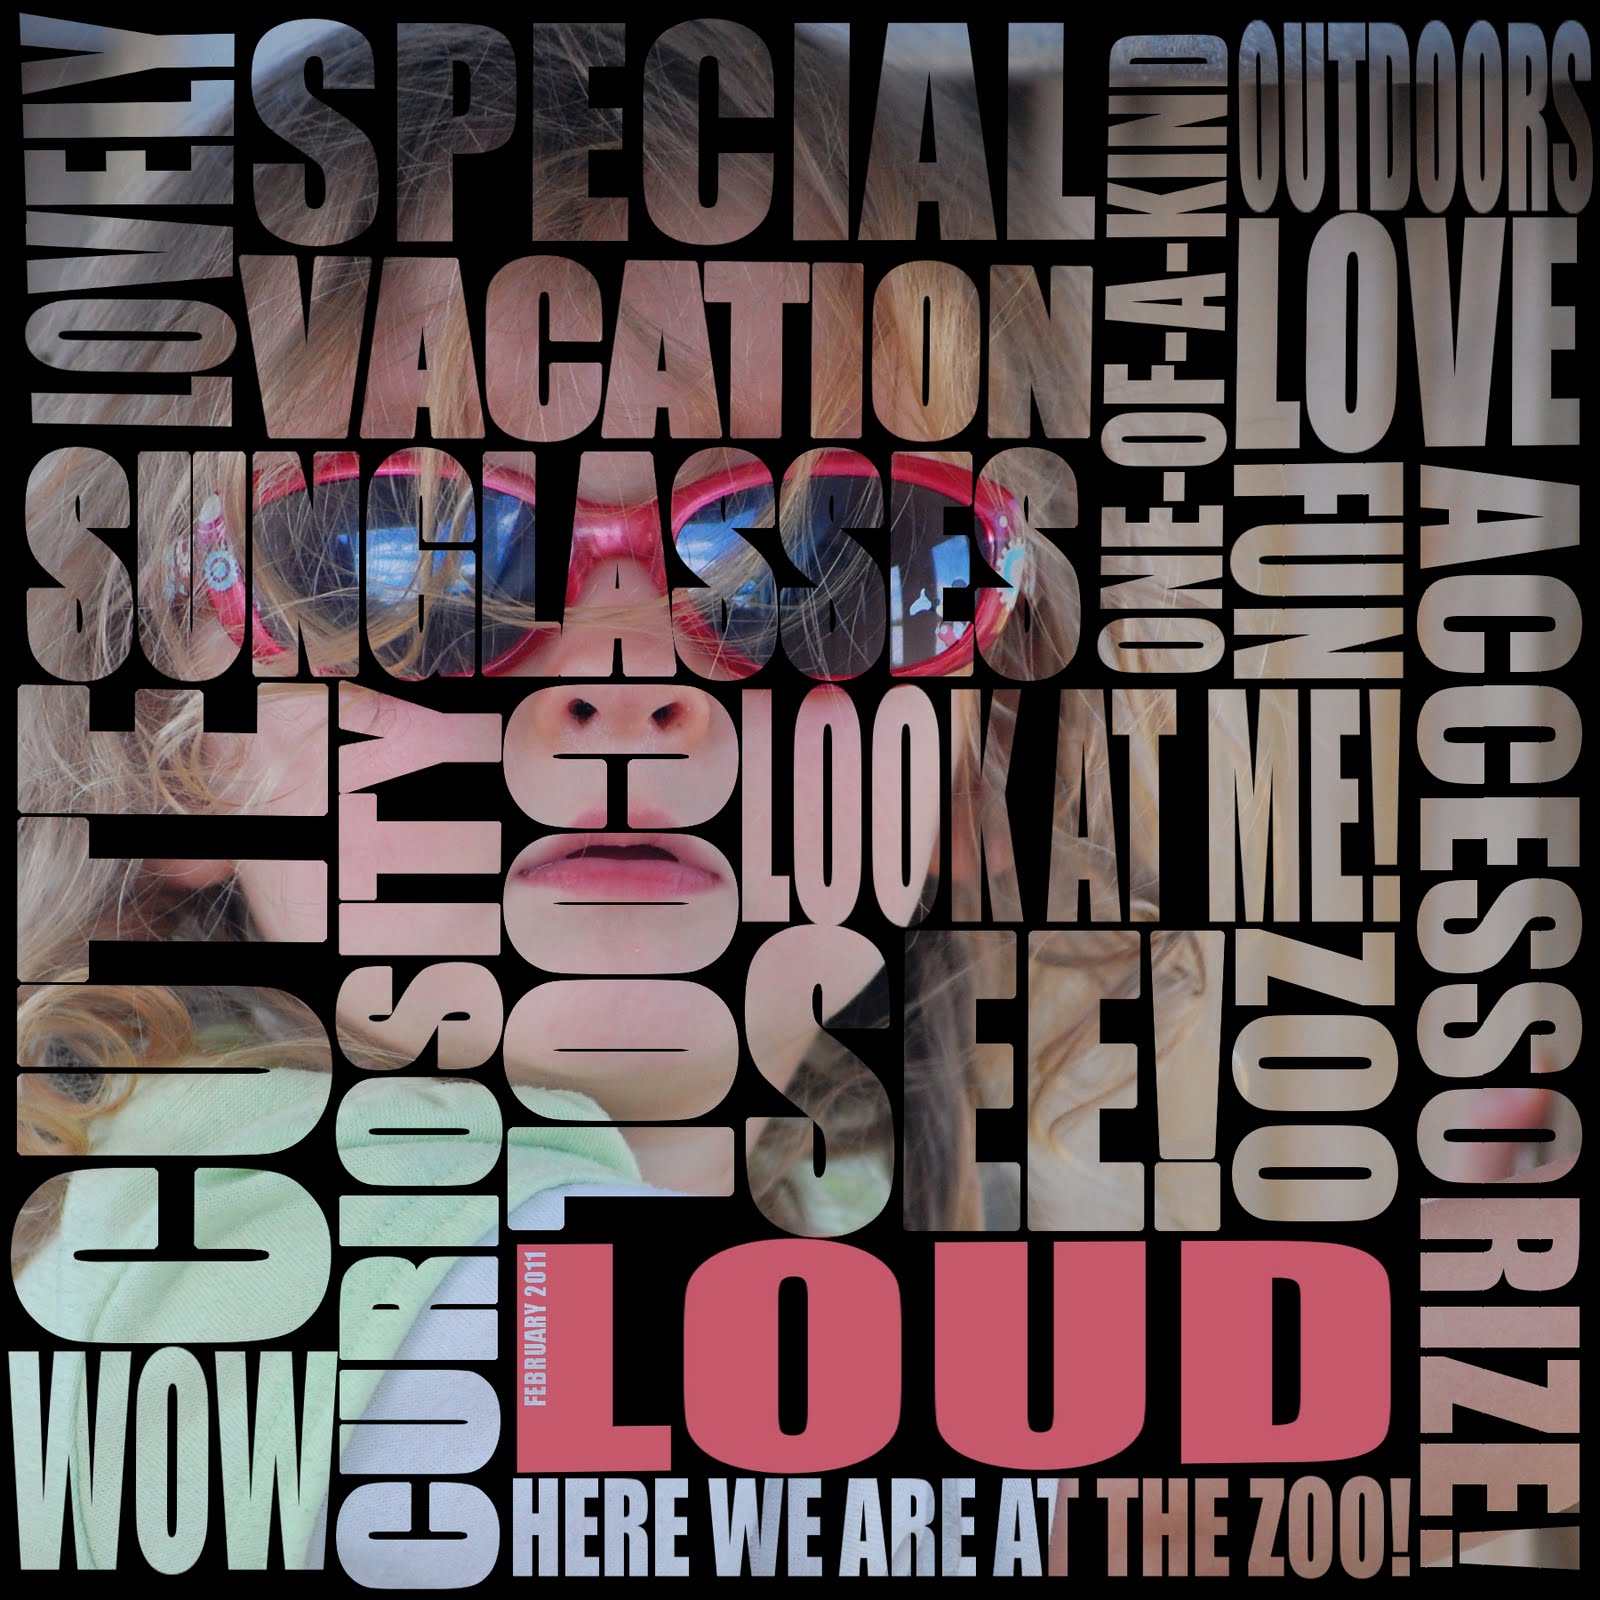
This style is rather simple to do in GIMP, but it takes a while to complete. The words fit together like a puzzle, and it took some time to fit them together without leaving empty spaces.
To make your own, create the text an any color. It's not going to show in the end result (I used bright pink to make it stand out). Thick font works best, and I used Impact Condensed. To make the vertical text, I simply rotated 90 or -90 degrees, depending on which way I wanted the text to face. To fill in small gaps, I used the perspective tool to stretch the text a bit. I also made the text thicker in a couple of areas (select the layer, go to Select > Grow, then do a bucket fill).
After the word puzzle is done, simply flatten all the text into one layer. Then right-click on the layer > Alpha to Selection. Then, create a black (or whatever color you choose) layer under the text, select that layer, and press "delete." This creates the mask in the shape of the words. Make sure that layer is above the image and then you're done!
Whenever I finish what I had in mind, I always look at the layout and ask myself how I can make it just a little better. For my layout, I though it needed a point of emphasis. I decided to highlight the word "loud," I simply threw in a layer just below the word mask, did a rectangle select around the word, grabbed the red color from the glasses, and did a bucket fill.
This style seems to work well for portraits, but I bet I could use it with a landscape shot, as well. We'll see.
No comments:
Post a Comment